1. Run As Me
This is a step by step tutorial, which was tested on Ubuntu 14.04 and Microsoft Windows 7.
ProActive Workflows & Scheduling allows advanced user management with the Run As Me feature. Run as me allows to execute a task under the current ProActive user, if an equally named system user exists on the executing machine.
1.1. Node configuration
The following steps configure the Node with a sample user called Gord.
1.1.1. Linux
-
Create a group called activeeon: groupadd activeeon
-
Create a user running the ProActive Node, set it’s primary group to proactive: useradd -g activeeon -G sudo -m proactive
-
Set the password of proactive user: passwd proactive
-
Download and unzip ProActive inside the /opt/ directory (/opt/ gives execution right to everyone)
-
Change ownership of the ProActive folder with sudo chown -R proactive:activeeon ProActive
-
Add a Run As Me user, which needs to be part of the activeeon group useradd -g activeeon -m Gord
-
Create an ssh key for the Run As Me user (Gord) ssh-keygen -t rsa
-
Go into the /home/Gord/.ssh directory and copy Gord’s public key to the authorized keys cat id_rsa.pub >> authorized_keys
-
Log into the activeeon account
-
Start the ProActive Node with the property
-Dpas.launcher.forkas.method=key
| The proactive user got a password set with passwd proactive to execute the sudo command. Whereas the run as me user (Gord) got a SSH key set. If you wish you can assign a password to Gord passwd Gord. |
1.1.2. Windows
-
Create an account called proactive:
In Control Panel→Administrative Tools→Computer Management→Local Users and Groups
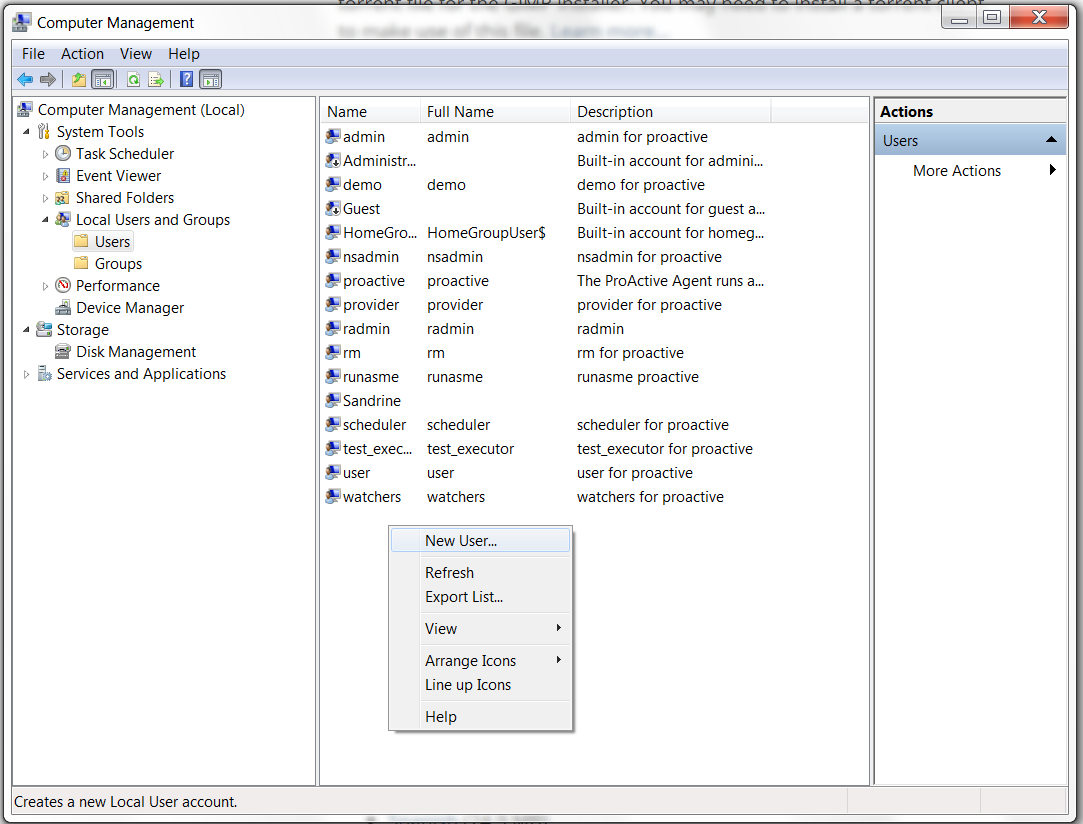
The proactive account might already exist if the Proactive Agent has been installed previously. -
Create an account Gord that will be used as the Run As Me account
-
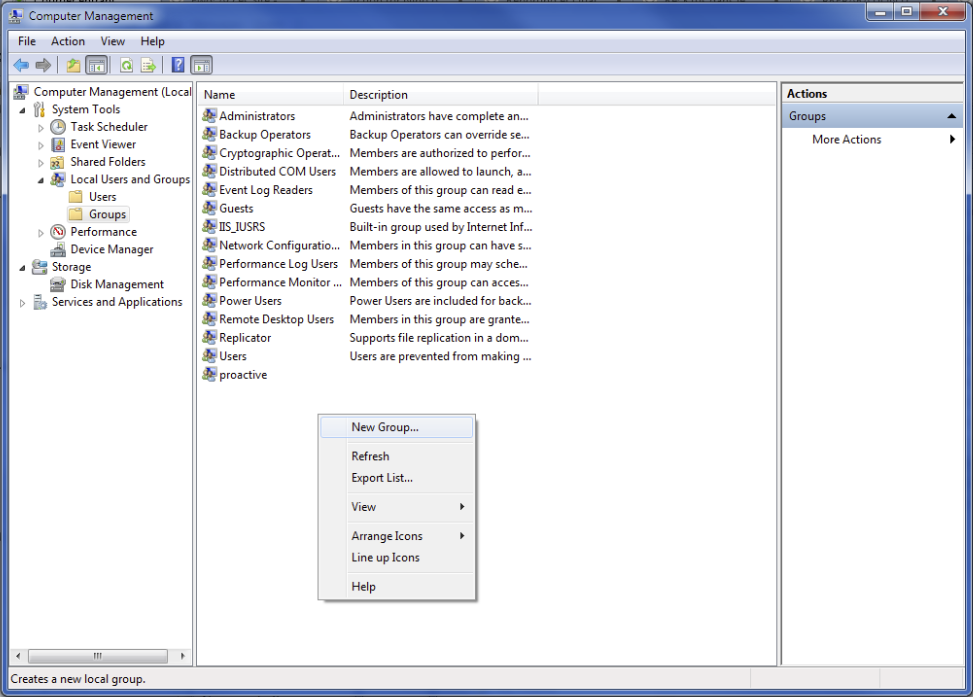
Create a group activeeon, and add all the previous accounts to this group.
In Control Panel→Administrative Tools→Computer Management→Local Users and Groups
-
Add privileges to log on locally for the accounts of the activeeon group
-
Control Panel→Administrative tools→Local Security Policy→Local Policies→User Right Assignment
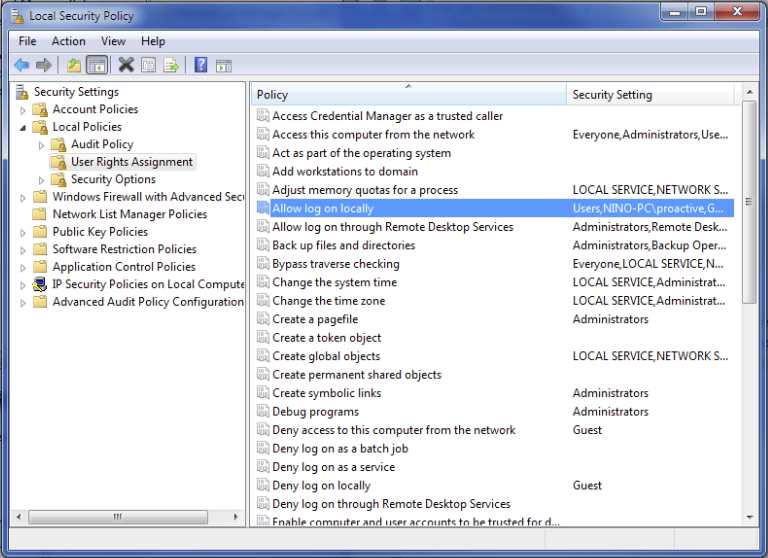
-
On the policy Allow log on locally, click on Edit properties and add the activeeon group
-
-
Create a temp directory (i.e C:\tmp)
-
Start the proactive node using the
proactiveaccount:
runas.exe /noprofile /user:proactive "PROACTIVE_HOME/bin/proactive-node.bat -Dpas.launcher.forkas.method=pwd -Djava.io.tmpdir=<TMP_DIR> -Dpa.logs.dir=<TMP_DIR>"
| The proactive node is bundled in the ProActive Scheduler which is installed in the next section. |
1.2. Scheduler configuration
The following steps configure the Scheduler with a sample user called Gord.
1.2.1. Linux
-
Use the following command to create the Gord account in the scheduler:
tools/proactive-users -C -l Gord -p Gord -g admin
-
Start the Scheduler
-
Log in as Gord
-
Add the private key of Gord in the Scheduler interface under Manage third-party credentials. Key: SSH_PRIVATE_KEY, Credential: Content of Gords' private key, without the '-----BEGIN RSA PRIVATE KEY-----' and -----END RSA PRIVATE KEY----- comments
-
Create a task in the Studio and tick Run as me
| The ProActive Node must be installed in a directory where every parent directory gives execution rights to users, which execute tasks. The users need to be part of the proactive group because a task needs the rights to write logs. Which is achieved by being part of the proactive group and the proactive group ownership of the ProActive Node directory. |
1.2.2. Windows
-
Install proactive server by download and unzip it to a convenient folder
-
Use the following command to create the Gord account in the scheduler:
tools/proactive-users -C -l Gord -p Gord -g admin
-
Start the scheduler server: PROACTIVE_HOME/bin/proactive-server.bat
-
Log in the Studio’s web interface with the Gord username.
-
Create a task and tick Run as me
-
Execute the job.